Menu


After setting up your byMarketers.co (BYM) vendor account, you can start uploading products to our community of marketing professionals. Joining our vendor program provides you with a great place to generate extra income and showcase your assets. Whether you are a freelance marketer, part of a large marketing company or a business professional, you can sell digital marketing resources as a BYM vendor.
Before adding products, we recommend you set up your store fully and complete the buildout process. This includes setting up your account, creating a personalized seller page to showcase your resources and expertise, setting up a payment method and Stripe account, and attaching your branding and social media to your dashboard. Check out our vendor set-up guide for guidance on creating an account and information about what to include to make your shop stand out to potential customers.
You can upload and sell essentially any document you like. From reports, analysis documents, guides, presentations, research files, etc. Anything that other industry professionals would want. We will also accept any document format: slide shows, excel files, design formats, etc. You can upload anything you have, including:
Below we have prepared a step-by-step guide for uploading your documents. But, before you get started, we recommend preparing two versions of your document. A ‘Final version’ and a ‘Demo/preview version’.
Please also note that there are 2 ways to provide your documents to marketers. The first way is to provide a link to your document. We recommend this where possible, especially for file types like Google Sheets, Google docs, Google Slides and Data Studio. The second way is to upload your file to the website. The instructions are different depending on the way you provide your file.
The final version of your product file is the one that customers will receive after they purchase it by checking out on the byMarketers website.
We strongly recommend preparing a second version of your file, which will be a demo version. This is a version that will be viewable before checkout from the product page. Anyone interested in your product can view this.
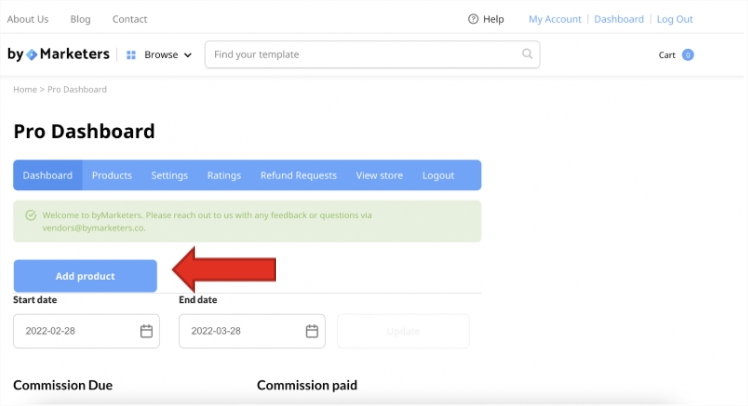
Step 1: From your Pro Dashboard, select the “Add Product” button
Step 2: From the “Add Product” page, you can input a product name to personalize your work. This name is how people will find your product from the search bar, so we recommend choosing a simple name with recognizable keywords. A shorter name will appear better on mobile, but including more keywords can help customers find your product.
Step 3: Below your product name, you can input a product description to provide information about what the product does, its platform, its ideal user and how to set it up. You can also include media up to 512 MB big in this section to give clearer information and instructions.
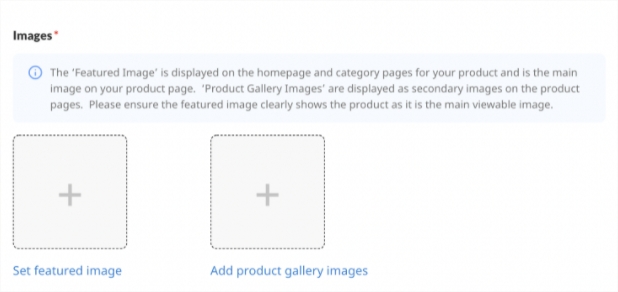
Step 4: In the Images section, you can select a featured image, which will represent the product. The featured image will show across the website homepage and category pages. You can also upload some additional pictures to your product gallery, which customers can view from the product pages.
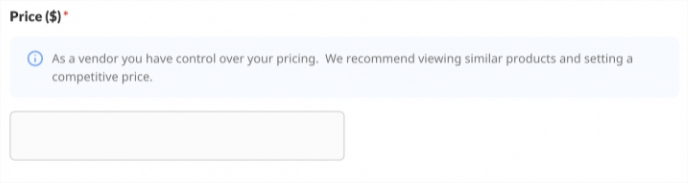
Step 5: Vendors can control how much they charge for products. If you’re unsure of how much to charge, try checking out similar items and seeing what other vendors charge for them.
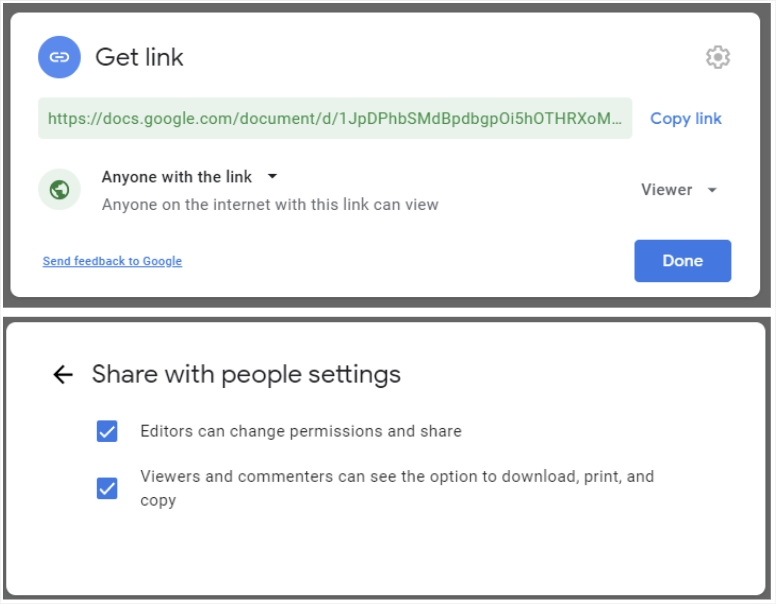
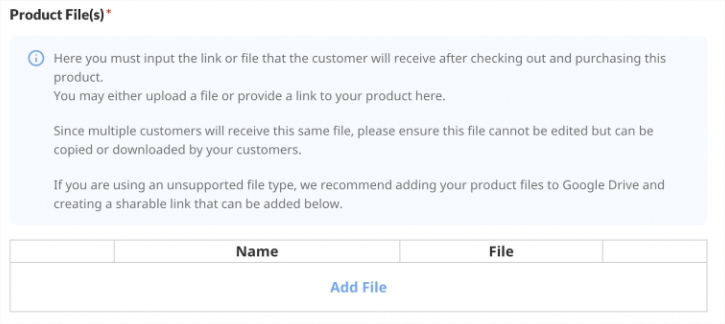
Step 6: You can upload the final version of your products, either as a link or downloadable file. All links should be viewable and copyable but NOT editable. Purchasers will receive access to this link to make their own copy. For files uploaded you don’t need to worry about creating a non-editable version, (since each user downloads their own file and does not get access to the original)
Step 7: The Product Category section allows you to select the type of product you are uploading from a drop down menu. You can select multiple options including Affiliate, Analytics, SEO Templates and Site Traffic Templates, depending on how you categorize the product.
Step 8: Once you have uploaded your product files, you can add details about your product to help customers find it in our marketplace. The File Type drop-down menu allows you to select what file type represents your product, eg: Google Sheets, HTML, Image, Video and PDF etc…
You can select as many types as are relevant for your product.
Step 9: You can then select the Platforms your product works with, selecting options like Amazon and Google Analytics from the drop-down menu.
Step 10: The final part of uploading a product involves selecting your Resource Type from the drop-down menu, such as Budgeting or Email Templates.
Step 11: Once you have completed the Add Product page, select “Add Product” to upload your product or “Save Draft” to save your work to upload at a later date.
Thanks for joining the byMarketers vendor community. By selling with us, you can start earning a great passive income, boosting your marketing profile and connecting with a range of like-minded professionals.
If you have any difficulty with the product upload process, please don’t hesitate to reach out to us. We are here to assist. Also, please let us know if you have any feedback or suggestions as we want to make it as easy as possible to start selling your products.