Menu


Affiliate disclaimer
Amazon Seller Central is a platform where businesses can manage product listings, orders, and sales data directly with Amazon customers. For agencies handling e-commerce, efficiently managing these processes is crucial. By integrating Seller Central with data tools like Looker Studio, businesses can streamline reporting and track performance with ease. You can also explore pre-built templates to simplify this process.
Looker Studio, formerly known as Google Data Studio, is a robust data visualisation tool that allows users to create dynamic dashboards and merge data from multiple sources. It’s ideal for businesses looking to enhance their reporting. With Looker Studio, you can build detailed marketing reports or use pre-made templates for faster results.
Connecting Amazon Seller Central to Looker Studio provides seamless access to real-time data, which is essential for businesses looking to track sales, customer behavior, and advertising performance. By consolidating this data in one place, agencies and businesses can quickly identify trends, make informed decisions, and respond to changes in the marketplace more efficiently.
This integration also allows for a higher level of customisation in reporting. You can build your own dashboards, tailor them to specific client needs, and generate comprehensive reports with just a few clicks. Whether you’re tracking inventory, sales metrics, or customer engagement, this connection ensures you have the data you need at your fingertips.
For those looking to save time, pre-made templates can be a great option. These templates allow businesses to skip the setup process and start analysing data immediately, ensuring productivity and performance are maximised from day one.
Connecting your Amazon Seller Central store to Looker Studio (formerly Google Data Studio) enables you to take your reporting to the next level. There is a range of advantages to using Looker Studio, and it is very easy to use!
Looker Studio provides superior data analysis, easier share-ability, editable visualisations and the ability to merge data from other platforms and data sources.
The following guide shows how you can use Power My Analytics to connect Amazon Seller Central to Looker Studio in 4 easy steps.
If you’d like to see a preview of Looker Studio, you can review a prebuilt Amazon Seller Central Looker Studio Template. this dashboard has been prebuilt and after purchase can be adjusted to suit your business needs.
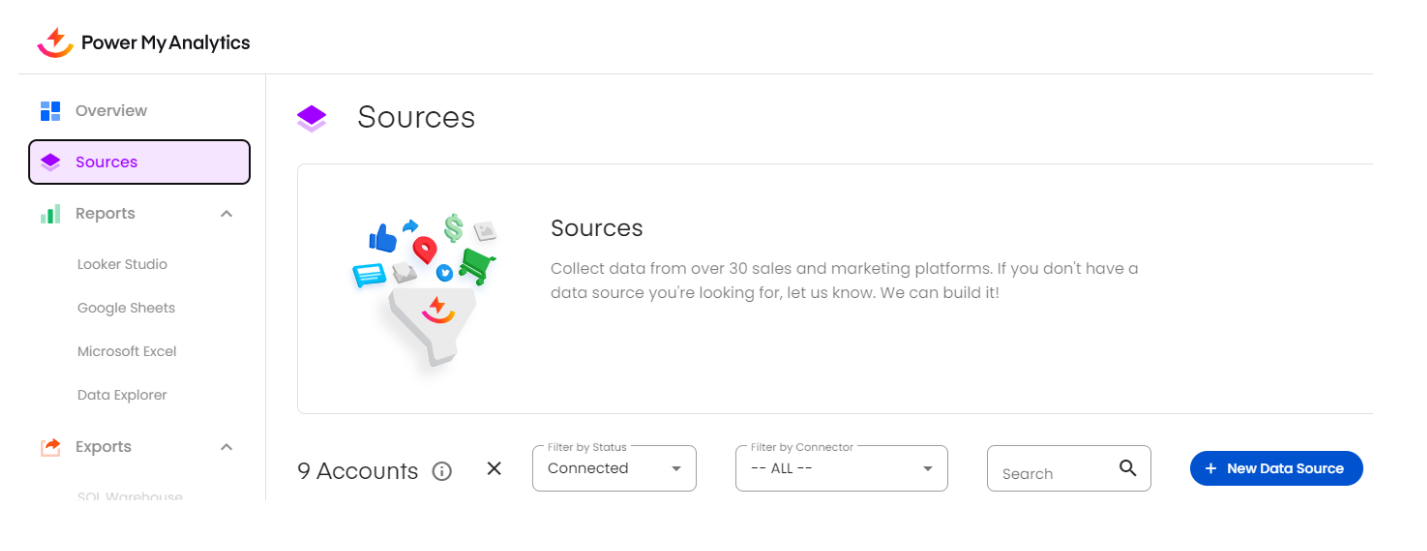
1. Navigate to Sources:
In the Power My Analytics dashboard, find and select Sources in the left-hand menu.
2. Add New Data Source:
Click on + New Data Source.
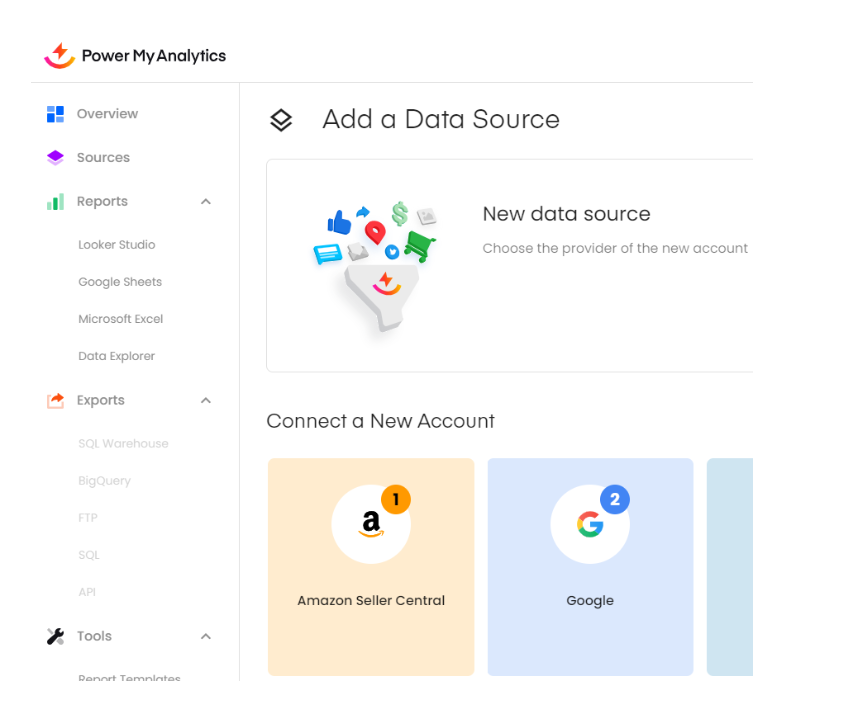
3. Select Amazon Seller Central:
On the Add a Data Source page, scroll to find and select Amazon Seller Central.
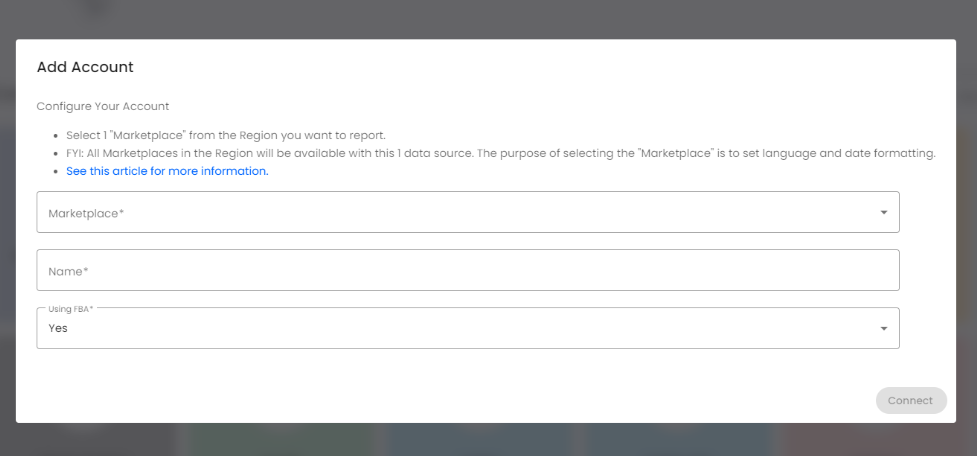
4. Connect Your Account:
A pop-up window titled Add Account will appear. Enter your account details and click Connect.
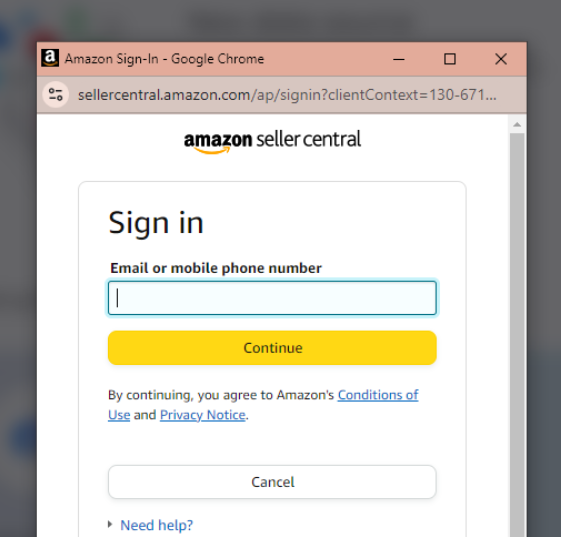
5. Sign In to Amazon:
Next, add your password and sign in. Depending on your account settings, you may be required to enter a one-time password (OTP).
You’ll be prompted to log in to your Amazon account. Enter your email or mobile number and click Continue.
6. Access the Sandbox (or Live) Account Page:
You’ll then be directed to the relevant Amazon account page, such as the Sandbox.

1. Open Looker Studio:
Launch Looker Studio and click on Add New Data Source.
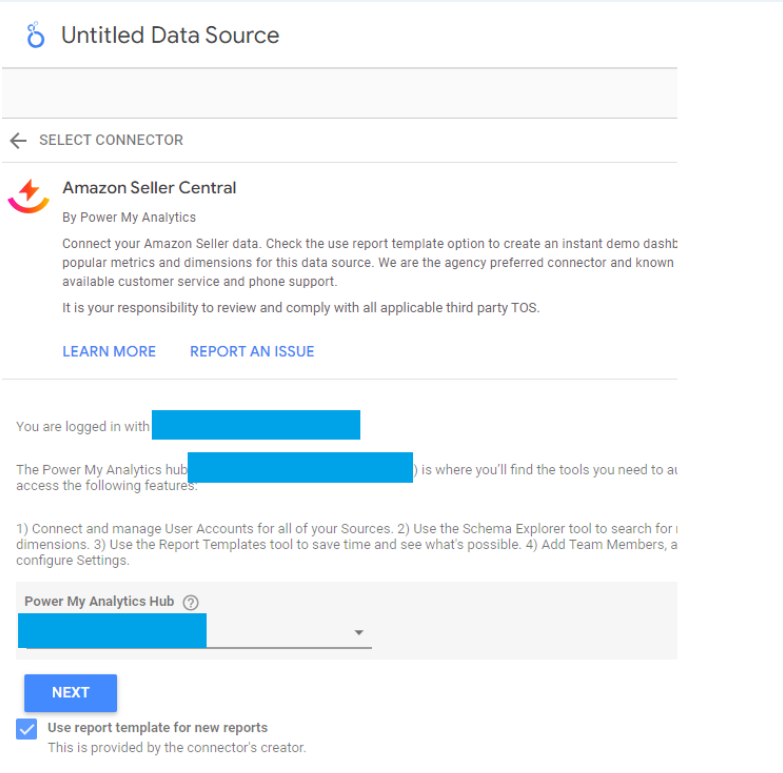
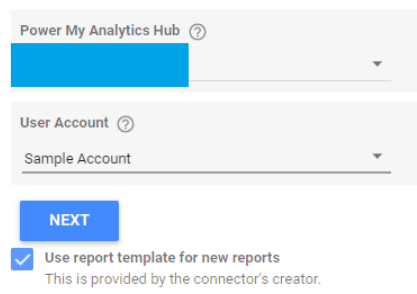
2. Enter User Account Details:
After clicking Next, you’ll be prompted to select or add a User Account. Enter your details and proceed by clicking NEXT.
3. Connect the Data Source:
After adding the User Account, click CONNECT to complete the authorisation.
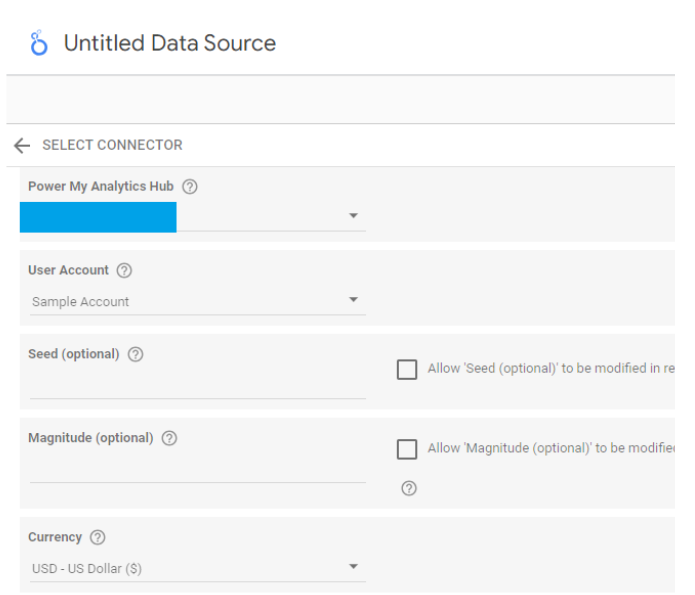
4. Access Data Source in Looker Studio:
Once connected, you’ll be taken to your Amazon data source in Looker Studio.
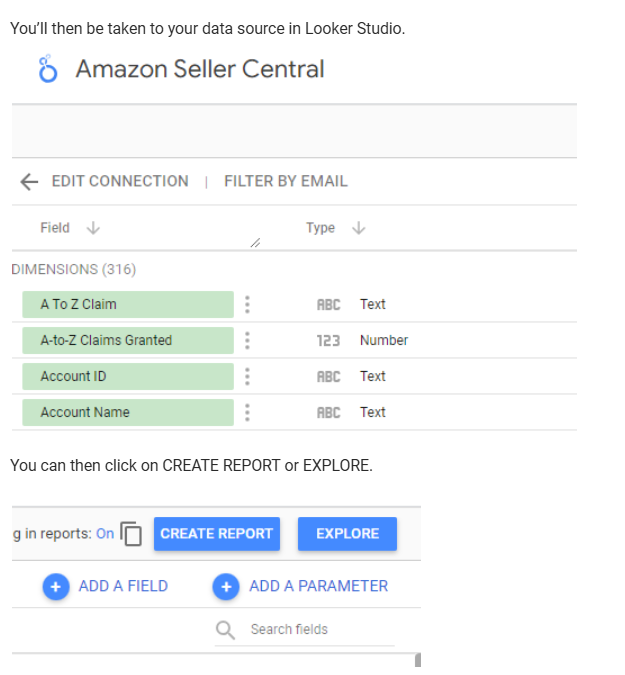
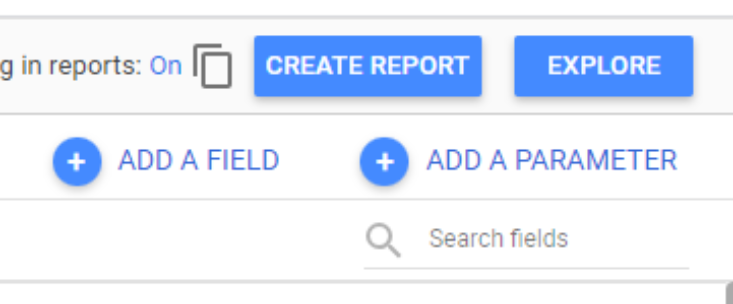
5. Create Your Report:
You can now choose to either CREATE REPORT or EXPLORE your data directly.
![]()
Looker Studio templates allow you to create dashboards that focus on the metrics most important to your business, like sales trends, conversion rates, and ad performance. You can design layouts and add visuals that help you quickly interpret your data, creating a more tailored and insightful view than Amazon’s native reports.
With Looker Studio, you can integrate Amazon data with other sources, such as Google Analytics, Facebook Ads, or Shopify. This gives you a holistic view of your sales performance across different platforms, helping you make more informed decisions and track marketing efforts in one centralized dashboard.
Looker Studio provides more advanced visualization options than Amazon’s built-in reporting, including interactive charts, trend lines, and geographical heat maps. This makes it easier to identify patterns and gain insights that may not be as apparent in standard Amazon reports.
Looker Studio templates can be shared with team members or clients who need to see your Amazon performance without logging into Seller Central. This supports better collaboration and keeps everyone aligned with current performance metrics.
Looker Studio can automatically refresh data, so your dashboard is always up to date without manual exports from Amazon. This saves time and keeps your insights accurate and current.